Walls
How to lay out a garage pegboard
A pegboard stays tidy or it does not, and the difference is decided in the first hour. Here is the layout that survives, and the published limits that constrain it.
Disclosure: Rail & Rafter earns a commission on qualifying purchases made through links on this page, at no cost to you. Commission does not decide what we recommend — our criteria do, and here is how we are funded.
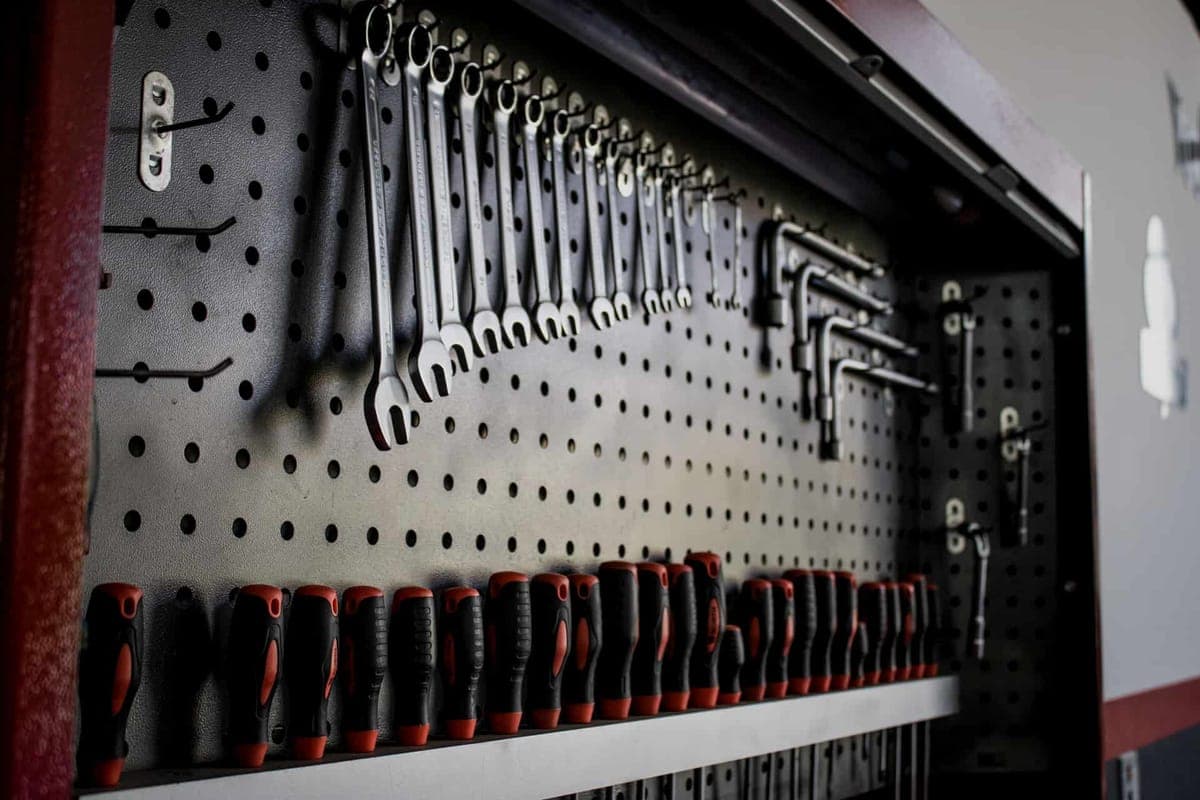
Pegboard is the only storage in the garage that is genuinely self-policing, and only if you lay it out right. A well-laid-out board makes a missing tool obvious at a glance. A badly laid-out one becomes a vertical version of the drawer you were trying to escape.
Start with the limits, because they constrain the layout
| What | Published limit |
|---|---|
| Panel into studs | Up to 200 lb |
| Panel into drywall anchors | Up to 100 lb |
| Hook engaging two slots | 10 to 15 lb |
| Hook engaging one slot | 5 to 10 lb |
| Shelf assembly, evenly distributed | 10 to 20 lb |
| Plastic bin | 2 lb |
Two consequences for layout. First, anything over about 15 lb is not going on this board — plan for it elsewhere before you start hanging. Second, two-slot hooks carry roughly double what single-slot hooks do, so use two-slot hooks for anything with real weight and save the single-slot ones for screwdrivers and pliers.
Lay out by reach, not by category
The instinct is to group by type: all the wrenches together, all the screwdrivers together. That is how a toolbox is organized and it is the wrong model for a wall.
A wall should be organized by how often you reach for it, because the wall's whole advantage is that returning a tool is effortless. Make the ten things you use weekly the easiest ten things to reach and put back, and the board stays tidy on its own.
| Zone | Position | What goes there |
|---|---|---|
| Prime | Directly in front of you, hip to shoulder | The ten tools you use weekly |
| Secondary | Above shoulder, and the outer thirds | Monthly tools, spares, less-used sizes |
| Edge | Top row and far corners | Rarely used, light. Nothing over a few pounds. |
| Bottom row | Just above the bench | Nothing that blocks the bench surface |
Then group by task, within the band
Once items are in the right band, group them by the job they are used for rather than by what they are. The bike-maintenance cluster, the electrical cluster, the fixings cluster. That is how you reach for things — you reach for "the thing I need to do the job", not for "a 6mm hex key".
A practical version, in prime band and left to right: measuring and marking, cutting, driving and fastening, gripping. That is roughly the order tasks happen in and it means your hand moves in one direction as a job progresses.
Tool outlines: worth it, and not for the reason people think
Drawing an outline around each tool is a classic pegboard technique and it is usually justified as looking tidy. That is not the reason it works.
It works because it makes an empty space specific. A gap on a board tells you something is missing; an outline tells you what is missing, from across the garage, without an inventory. That is the difference between noticing a tool is out and finding it before you need it.
Do it after the fortnight, not before — outlines drawn on day one lock in a layout you have not tested yet.
The mistake that fills a board in a fortnight
Do not hang everything you own
The failure mode is filling the board on installation day because there is space. Two weeks later every hook is occupied, half of them by things you have not touched, and there is nowhere to put the tool you actually use.
Hang your ten most-used tools and stop. Leave the rest in the box for a fortnight and hang only what you actually reach for. What is left in the box after a month is telling you something about what belongs in a drawer or a cabinet instead.
Practical spacing
- Leave a hole between hooks. Tools that touch snag on each other, and a tool that snags is a tool that does not go back.
- Hang long tools where they have room to swing down. A hand saw needs clearance below it to come off the hook without catching.
- Keep the bottom row clear of the bench. Six to eight inches above the benchtop, so whatever is standing on the bench does not block the lowest hooks.
- Weight at the base of the hook. The published limits assume it. A tool hanging at the tip applies more leverage for the same weight.
What does not belong on the board
Power tools over 15 lb, hardware bins beyond a couple of pounds, anything that needs locking away, and anything you use twice a year. Those go to cabinets, to shelving, or onto track — the format comparison covers where each one lands.
What we would buy for this
Every pick carries the manufacturer's published specs, our scoring against stated criteria, and a reason you might want to skip it.
#1 · Best for hand tools
Wall Control Metal Pegboard
Wall Control
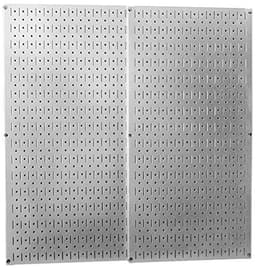
20-gauge steel pegboard with published per-panel and per-hook limits, which is more honesty about capacity than the entire hardboard-pegboard category offers combined.
Published specs
- Material
- 20-gauge galvanized steel
- Into studs
- Up to 200 lb per panel
- Into drywall anchors
- Up to 100 lb per panel
- Per hook, two slots
- 10 to 15 lb
- Per hook, one slot
- 5 to 10 lb
- Per shelf assembly
- 10 to 20 lb, evenly distributed
Figures are the manufacturer's, from Wall Control's published capacity guidance, read 2026-09-01. We have not verified them by testing and do not imply that we have.
Our scoring
- Published capacity
- 6.5
- Coverage per dollar
- 9.5
- Accessory range
- 9.0
- Install simplicity
- 8.0
- Documentation
- 10.0
What works
- Steel rather than hardboard, so the holes do not blow out and the board does not bow
- Publishes limits per panel, per hook AND per shelf — nobody else in pegboard does this
- Takes both round-hole and slotted accessories, so most existing pegboard hooks still work
- Cheapest way to get a lot of small tools off a bench and onto a wall
What doesn't
- Per-hook limits are genuinely low; this is a hand-tool wall, not a ladder-and-bike wall
- 100 lb per panel into drywall anchors is much less than 200 lb into studs, and most people install into drywall
- Panels are small, so a full wall is a lot of panels and a lot of alignment
Skip this one if what you need on the wall is bikes, ladders, or a wheelbarrow. A 10 to 15 lb hook limit is not a suggestion, and the right answer for those is track or heavy-duty hooks into studs.
Questions people actually ask
How do you organize a garage pegboard?
By reach first, then by task. The ten tools you use weekly go in the prime band between hip and shoulder, directly in front of where you stand. Everything else moves outward and upward. Grouping by task within a band beats grouping by tool type.
How much weight can a pegboard hook hold?
Wall Control publishes 10 to 15 lb for a hook engaging two slots and 5 to 10 lb for one slot, with the weight at the base of the hook. Use two-slot hooks for anything with real weight.
Should I draw outlines around my tools?
Yes, but after a couple of weeks rather than on day one. Outlines make an empty space specific — you can see what is missing rather than just that something is. Drawing them immediately locks in a layout you have not tested.
How high should pegboard start above a workbench?
About 6 to 8 inches above the benchtop, so the bottom row of hooks clears whatever normally stands on the bench.
Can I hang power tools on pegboard?
Light ones, on two-slot hooks — a cordless drill is usually fine. Larger power tools over about 15 lb exceed the published hook limits and belong on a shelf, in a cabinet, or on track.
Sources
- Wall Control published capacity guidance — per panel, per hook, per shelf and per binChecked September 1, 2026
Manufacturer documentation, manuals, warranty terms and exact product models reviewed September 1, 2026.
Read next
- The best garage tool wall storageHand tools on the wall, ranked on published per-hook limits rather than marketing photos.
- Pegboard vs slatwall vs trackThree formats for three jobs. Which one you need is decided by what you are hanging, not by budget.
- How much weight can a garage wall hold?The fixing decides it, not the wall. Published stud-versus-drywall figures and how to find your studs.
- How to organize a garage wallThree height bands, four walls, and the order to install in so you do not do it twice.
- Where the tools goTools in a bin become a search. The wall is the answer, and the hook limits decide what goes where.
- Wall Control metal pegboard: the numbers nobody else publishes20-gauge steel pegboard on published per-panel, per-hook and per-shelf limits — and who should not buy it.